First Tattoo Guide Australia 2026: Complete Beginner's Roadmap
Your First Tattoo: The Complete Beginner's Guide
Getting your first tattoo is exhilarating, terrifying, and life-changing all at once. Will it hurt? What if I regret it? Am I choosing the right design? How do I find a good artist? These questions swirl through every first-timer's mind, and they're all valid. Your first tattoo sets the tone for your relationship with ink—approach it thoughtfully, and it becomes a gateway to a lifetime of meaningful body art. Rush it, and it becomes an expensive lesson in patience.
In Australia's professional tattoo industry of 2026, first-timers have unprecedented access to skilled artists, comprehensive portfolios, and transparent pricing. But with choice comes paralysis—thousands of artists, infinite design possibilities, and conflicting advice from every friend who's gotten inked. This guide cuts through the noise, providing a clear roadmap from first thought to healed tattoo.
💡 Quick First Tattoo Facts
Ideal First Size: 5-12cm (manageable commitment)
Best First Placements: Upper arm, forearm, calf, shoulder
Average First Tattoo Cost: $180-$450 (Australia 2026)
Session Duration: 1-3 hours typical
Pain Level: 3-6/10 depending on placement
Minimum Age: 18 years old (no exceptions)
Step 1: Choosing Your First Tattoo Design
The Golden Rule: Wait
If you love a design today, will you still love it in 6 months? 1 year? 10 years?
The 6-Month Test:
Save your design idea somewhere visible
Look at it regularly for 6 months
Still love it after 6 months? Probably safe to get
Growing tired of it? Be grateful you waited
Best First Tattoo Design Strategies:
✅ Smart First Choices:
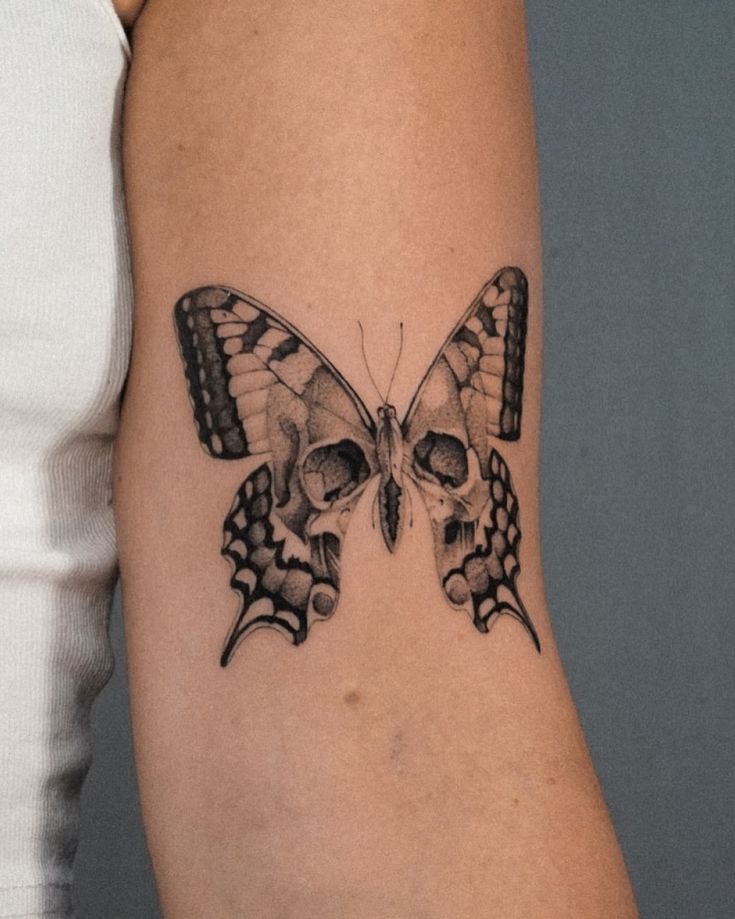
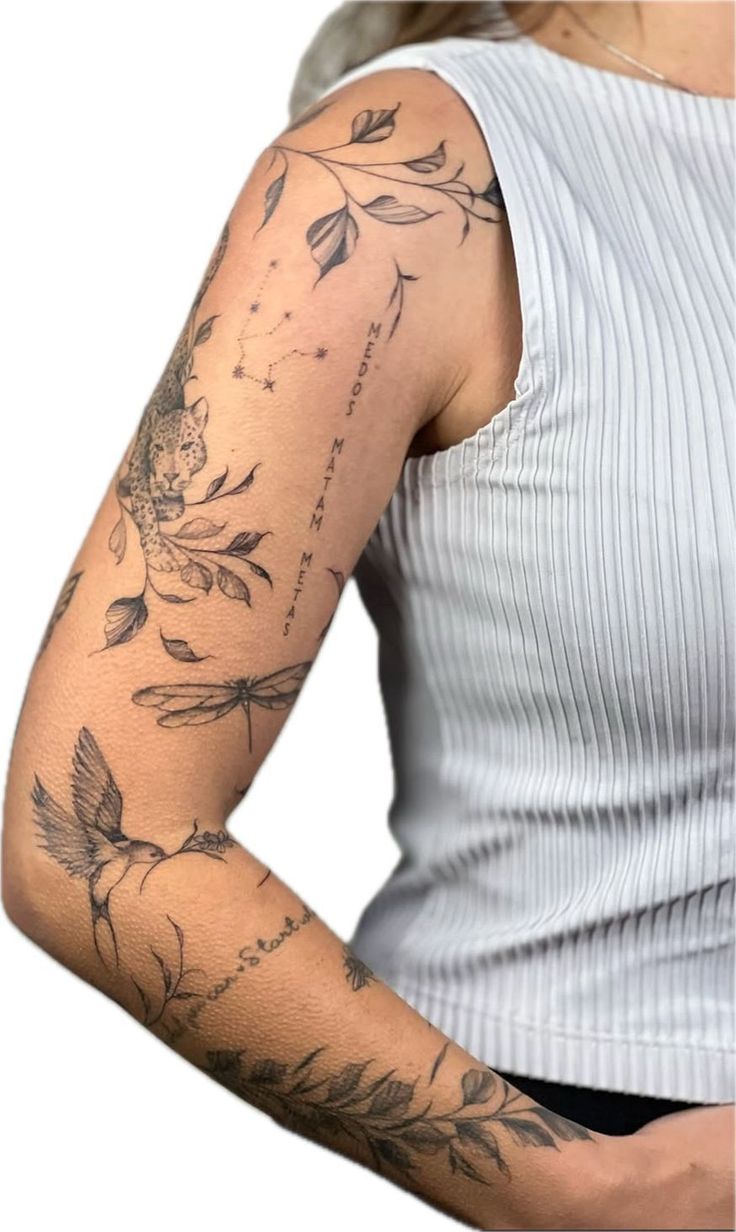
Classic symbols: Roses, anchors, hearts—timeless for a reason
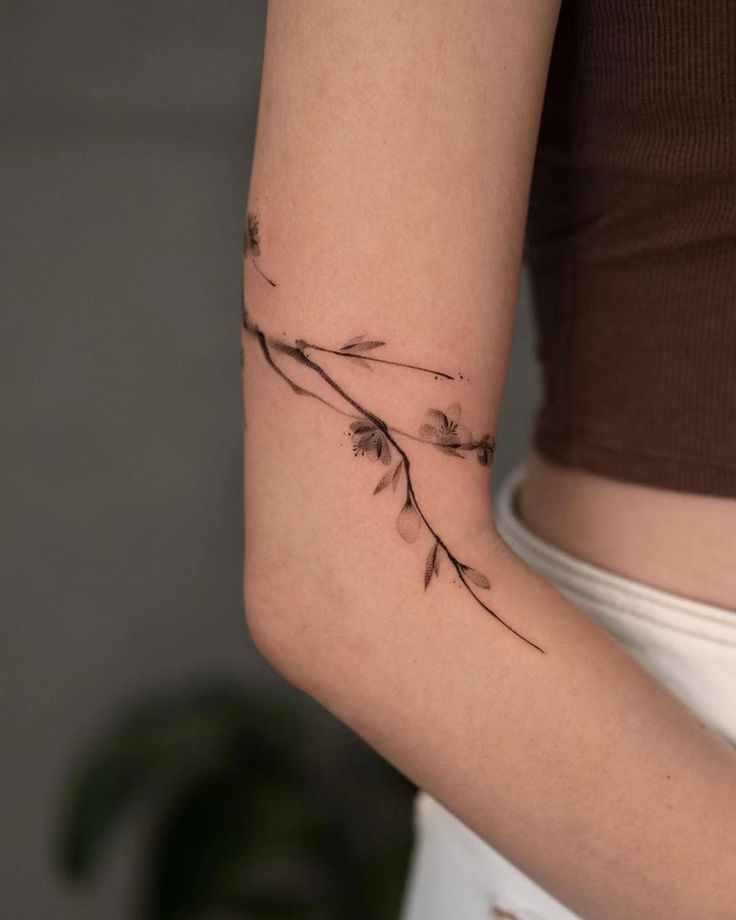
Meaningful minimalism: Small designs with personal significance
Traditional styles: Age beautifully, always in style
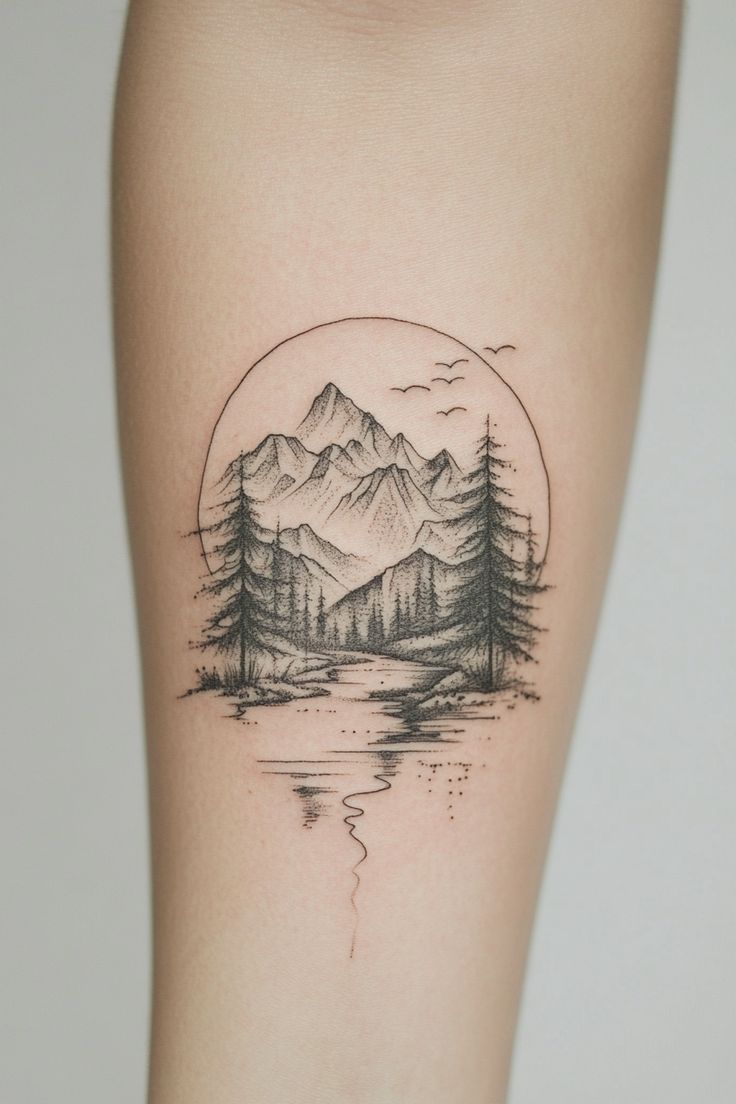
Nature elements: Mountains, trees, waves—universally appealing
Geometric patterns: Clean, modern, gender-neutral
❌ Risky First Choices:
Partner's name/portrait: Relationships change (50% divorce rate)
Trendy designs: Today's trends = tomorrow's regrets
Inside jokes: You won't find them funny forever
Extremely large pieces: Overwhelming for first-timers
Face/neck/hand tattoos: Save for when you're certain about tattoo lifestyle
Watercolour without outlines: Fades quickly, ages poorly
Finding Design Inspiration:
Instagram hashtags: #tattoo #traditionaltattoo #finelinetattoo
Pinterest boards dedicated to tattoo styles you like
Artist portfolios on tattoo shop websites
Tattoo magazines and books
Walking around and observing others' tattoos
Step 2: Best First Tattoo Placements
Placement | Pain (1-10) | Pros | Cons |
|---|---|---|---|
Outer Upper Arm | 3-4/10 ⭐⭐⭐ | Low pain, easy to hide, flat surface | Can't see it yourself easily |
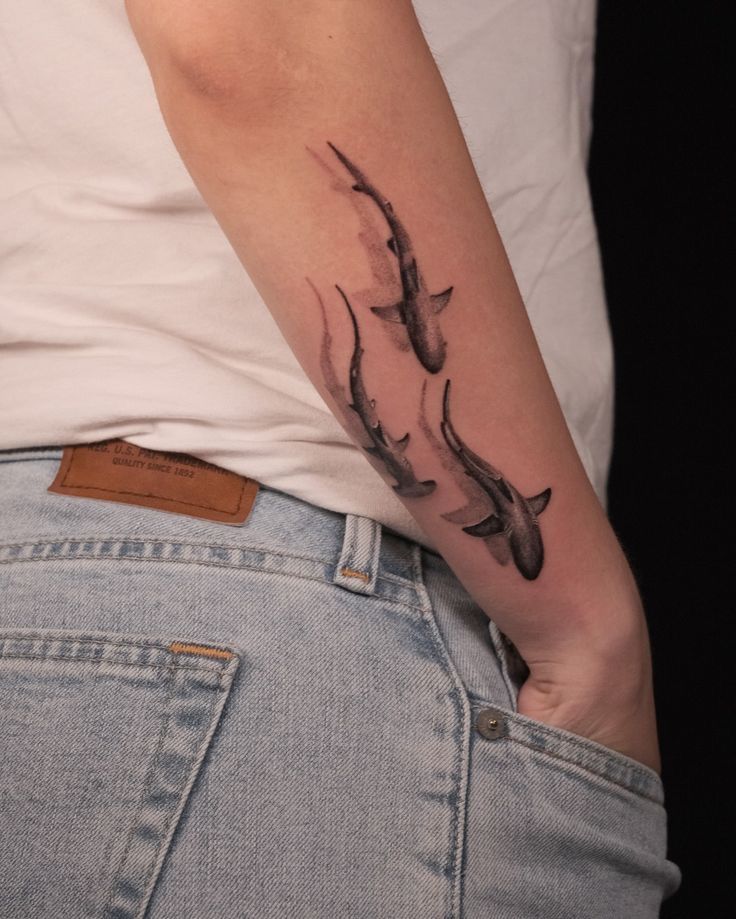
Forearm | 4-5/10 ⭐⭐⭐⭐ | Can see it daily, moderate pain | Highly visible (job considerations) |
Calf | 4-5/10 ⭐⭐⭐⭐ | Good size canvas, easily hidden | Longer pants needed to hide |
Shoulder | 3-4/10 ⭐⭐⭐ | Low pain, professional concealment | Limited size, hard to see yourself |
Thigh | 4-6/10 ⭐⭐⭐⭐ | Large canvas, very private | Weight fluctuations affect it |
❌ Avoid for First Tattoo:
Ribs (8-9/10 pain - traumatizing for first-timers)
Spine (7-9/10 pain - intense vibration)
Feet (7-8/10 pain + fades quickly)
Hands (7-8/10 pain + job limitations)
Neck/face (permanent visibility, save until you're certain)

Step 3: Finding the Right Artist
Research Process:
1. Use TattooNearMe Directory:
Filter by your city and preferred style
Read client reviews carefully
Examine artist portfolios for consistency
Look for artists with 3+ years experience minimum
2. Portfolio Red Flags:
❌ Crooked lines or asymmetrical designs
❌ Inconsistent line weight
❌ Blown-out (blurry) linework
❌ Only fresh tattoo photos, no healed work
❌ Less than 20 examples in portfolio
❌ Wildly different styles (lack of specialization)
3. Portfolio Green Flags:
✅ Crisp, clean linework
✅ Smooth gradients and shading
✅ Healed work shown (6+ months old)
✅ Consistent quality across many pieces
✅ Specialization in 1-2 styles
✅ Professional photos showcasing details
Consultation Questions to Ask:
"How long have you been tattooing professionally?"
"Do you specialize in [your desired style]?"
"Can you show me healed examples of similar work?"
"What's your hourly rate / shop minimum?"
"How do you handle corrections if something doesn't heal right?"
"Do you offer free touch-ups?"
"What's your cancellation policy?"
"Can I see the stencil before we start?"
Step 4: Booking & Preparation
Typical Booking Process:
Consultation: Discussion, design refinement, pricing quote
Deposit: $50-$150 to secure appointment (non-refundable typically)
Design finalization: 1-2 weeks before session
Appointment day: Arrive on time, bring ID, payment ready
Night Before Your Tattoo:
✅ Get good sleep (8+ hours - pain tolerance much better when rested)
✅ Hydrate well (2-3 liters water)
✅ Eat a full meal (never tattoo on empty stomach)
❌ No alcohol (thins blood, increases bleeding)
❌ No aspirin/ibuprofen (blood thinners)
❌ No excessive caffeine (increases sensitivity)
Day of Tattoo - What to Bring:
Valid photo ID (passport, driver's license)
Payment (cash often preferred, some take card)
Snacks (granola bars, candy for blood sugar)
Headphones and music/podcast
Fully charged phone
Water bottle
Comfortable clothing that exposes tattoo area
Step 5: During the Tattoo Session
What Happens:
1. Stencil Application (10-15 mins):
Artist shaves area if needed
Applies temporary stencil to skin
You approve placement and size
Can be repositioned if not perfect
Don't approve stencil you're not 100% happy with!
2. Tattooing Begins:
First few minutes: Shocking, sharp pain (your body adjusts)
After 10-15 mins: Dulls to tolerable burning/scratching
Outlining: Most painful part (sharp needle)
Shading: Less intense, more vibration feeling
Colour (if applicable): Varies, usually moderate
3. Pain Management:
Deep, slow breathing (4 count in, 6 count out)
Focus on music, podcast, conversation
Take breaks when needed (don't be tough—speak up!)
Sugar candy/drink helps (blood sugar crashes increase pain)
Shift position if limbs go numb
4. Session End:
Artist cleans, photographs, bandages tattoo
Provides aftercare instructions (written sheet)
Payment and tip (15-20% customary for great work)
Schedule touch-up if needed (usually 6-8 weeks out)
Step 6: Aftercare (Critical First 2 Weeks)
Days 1-3: Initial Healing
Remove bandage after 2-4 hours (or per artist instruction)
Wash gently with fragrance-free antibacterial soap 3x daily
Pat dry with clean paper towels (not cloth—bacteria risk)
Apply thin layer Bepanthen or Aquaphor 3-4x daily
Don't over-moisturize (tattoo needs to breathe)
Expect: Redness, swelling, oozing clear fluid/ink—all normal
Days 4-7: Peeling Begins
Tattoo will peel like sunburn—completely normal
NEVER pick or scratch (removes ink, creates scarring)
Continue washing 2x daily
Switch to regular fragrance-free lotion (lighter than ointment)
Itching is intense—slap it gently instead of scratching
Days 8-14: Final Surface Healing
Most peeling complete
Tattoo looks dull/cloudy (skin still healing internally)
Continue gentle washing and light moisturizing
True colors emerge around week 3-4
❌ Aftercare Don'ts (First 2 Weeks):
No swimming (pools, ocean, hot tubs)
No direct sun exposure
No soaking (baths, long showers okay if quick)
No tight clothing rubbing tattoo
No gym if equipment contacts tattoo
No picking, scratching, or peeling skin
No tanning beds
No pets sleeping on fresh tattoo
First Tattoo Pricing Guide Australia 2026
Tattoo Size/Type | Session Time | Price Range (AUD) |
|---|---|---|
Tiny (2-4cm simple) | 30-60 mins | $120-$220 |
Small (5-8cm) | 1-2 hours | $180-$350 |
Medium (10-15cm) | 2-3 hours | $300-$550 |
Large (18-25cm) | 4-6 hours | $500-$900 |
Additional Costs to Budget:
Tip: 15-20% ($30-$100 typical)
Aftercare products: $20-$40
Touch-up (if needed): Often free, or $100-$200
Common First Tattoo Mistakes
Mistake #1: Choosing design while drunk/emotional
✅ Solution: Wait 6 months minimum, make decision sober and calm
Mistake #2: Going to cheapest artist
✅ Solution: Save longer, pay for quality—you get what you pay for permanently
Mistake #3: Getting name/face of current partner
✅ Solution: Wait until you've been together 5+ years minimum, if at all
Mistake #4: Starting with face/neck/hand
✅ Solution: Start with easily concealable placement, progress to visible later
Mistake #5: Picking design from flash wall day-of
✅ Solution: Plan design weeks/months in advance, get custom work
Mistake #6: Not checking artist portfolio
✅ Solution: Spend hours researching artist, examine 50+ portfolio pieces
Mistake #7: Poor aftercare ("it'll be fine")
✅ Solution: Follow instructions religiously—affects final result permanently
✅ Ready for Your First Tattoo? Use our directory to find beginner-friendly tattoo artists in your Australian city. Filter by style, read reviews from other first-timers, examine portfolios for clean work, and book consultations with artists who specialize in creating comfortable experiences for nervous first-timers.
Final Thoughts: You're Ready
Every tattooed person was once exactly where you are now—nervous, excited, uncertain. That first tattoo transforms you from someone who thinks about tattoos into someone who has tattoos. It's a meaningful threshold, and approaching it thoughtfully ensures you'll love crossing it.
Take your time. Do your research. Choose an artist you trust. Pick a design with staying power. Follow aftercare religiously. And when you see that healed tattoo for the first time, when you realize it's truly part of you forever—that's when you'll understand why millions of people become addicted to this art form.
Welcome to the tattooed community. Your first won't be your last.
Find your perfect first tattoo artist and begin your ink journey today.
Explore More
Find Tattoo Shops
Browse by Style
Stay Updated with the Latest Insights!
Get the latest news and updates delivered to your inbox.
Related Articles
Tattoo Touch-Up Guide Australia 2026: Timing, Cost, Care
Tattoo touch-ups in Australia 2026. Free warranty windows, refresh pricing, healing vs refresh, briefing tips, and habits that delay the next one.
Read More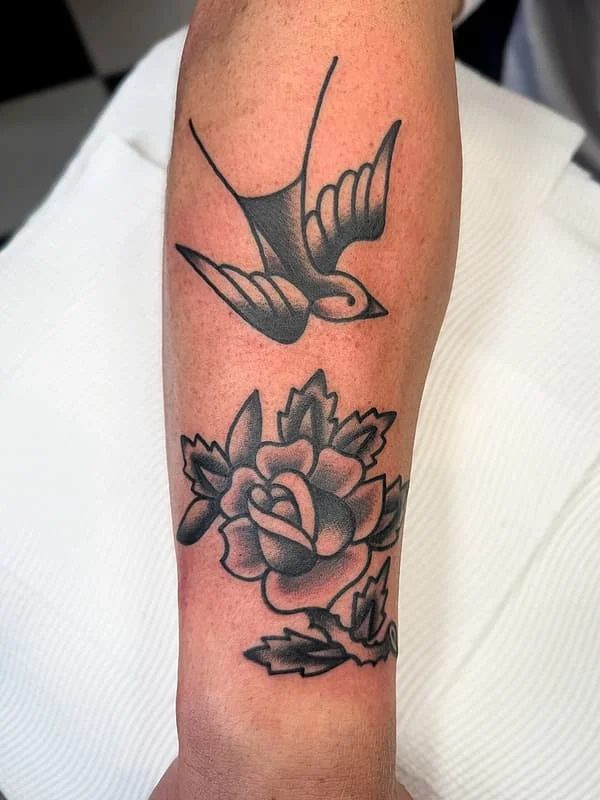
How Tattoos Age in Australia 2026: Preservation Guide
How tattoos age in Australia. Decade-by-decade fade, the eight factors deciding longevity, SPF and skin habits, and when a touch-up beats prevention.
Read More
Tattoo Removal Guide Australia 2026: Sessions, Cost, Pain
Tattoo removal in Australia 2026. Laser tech, Kirby-Desai session estimates, real costs, pain levels, healing timeline, and cover-up alternatives explained.
Read More